Installation and Maintenance Guide for Thyristor Modules in Industrial Heating
The use of thyristor modules in industrial heating applications has become increasingly popular due to their efficiency and ability to control high surge currents, making them essential components in various industrial systems. These modules are widely employed in applications such as temperature control systems, UPS (Uninterruptible Power Supply) systems, and servo drives, where precise regulation of power is crucial. However, proper installation and maintenance of these modules are essential to ensure optimal performance and prolong their lifespan. This guide outlines the key steps involved in installing and maintaining thyristor modules for industrial heating applications.
Understanding Thyristor Modules in Industrial Heating
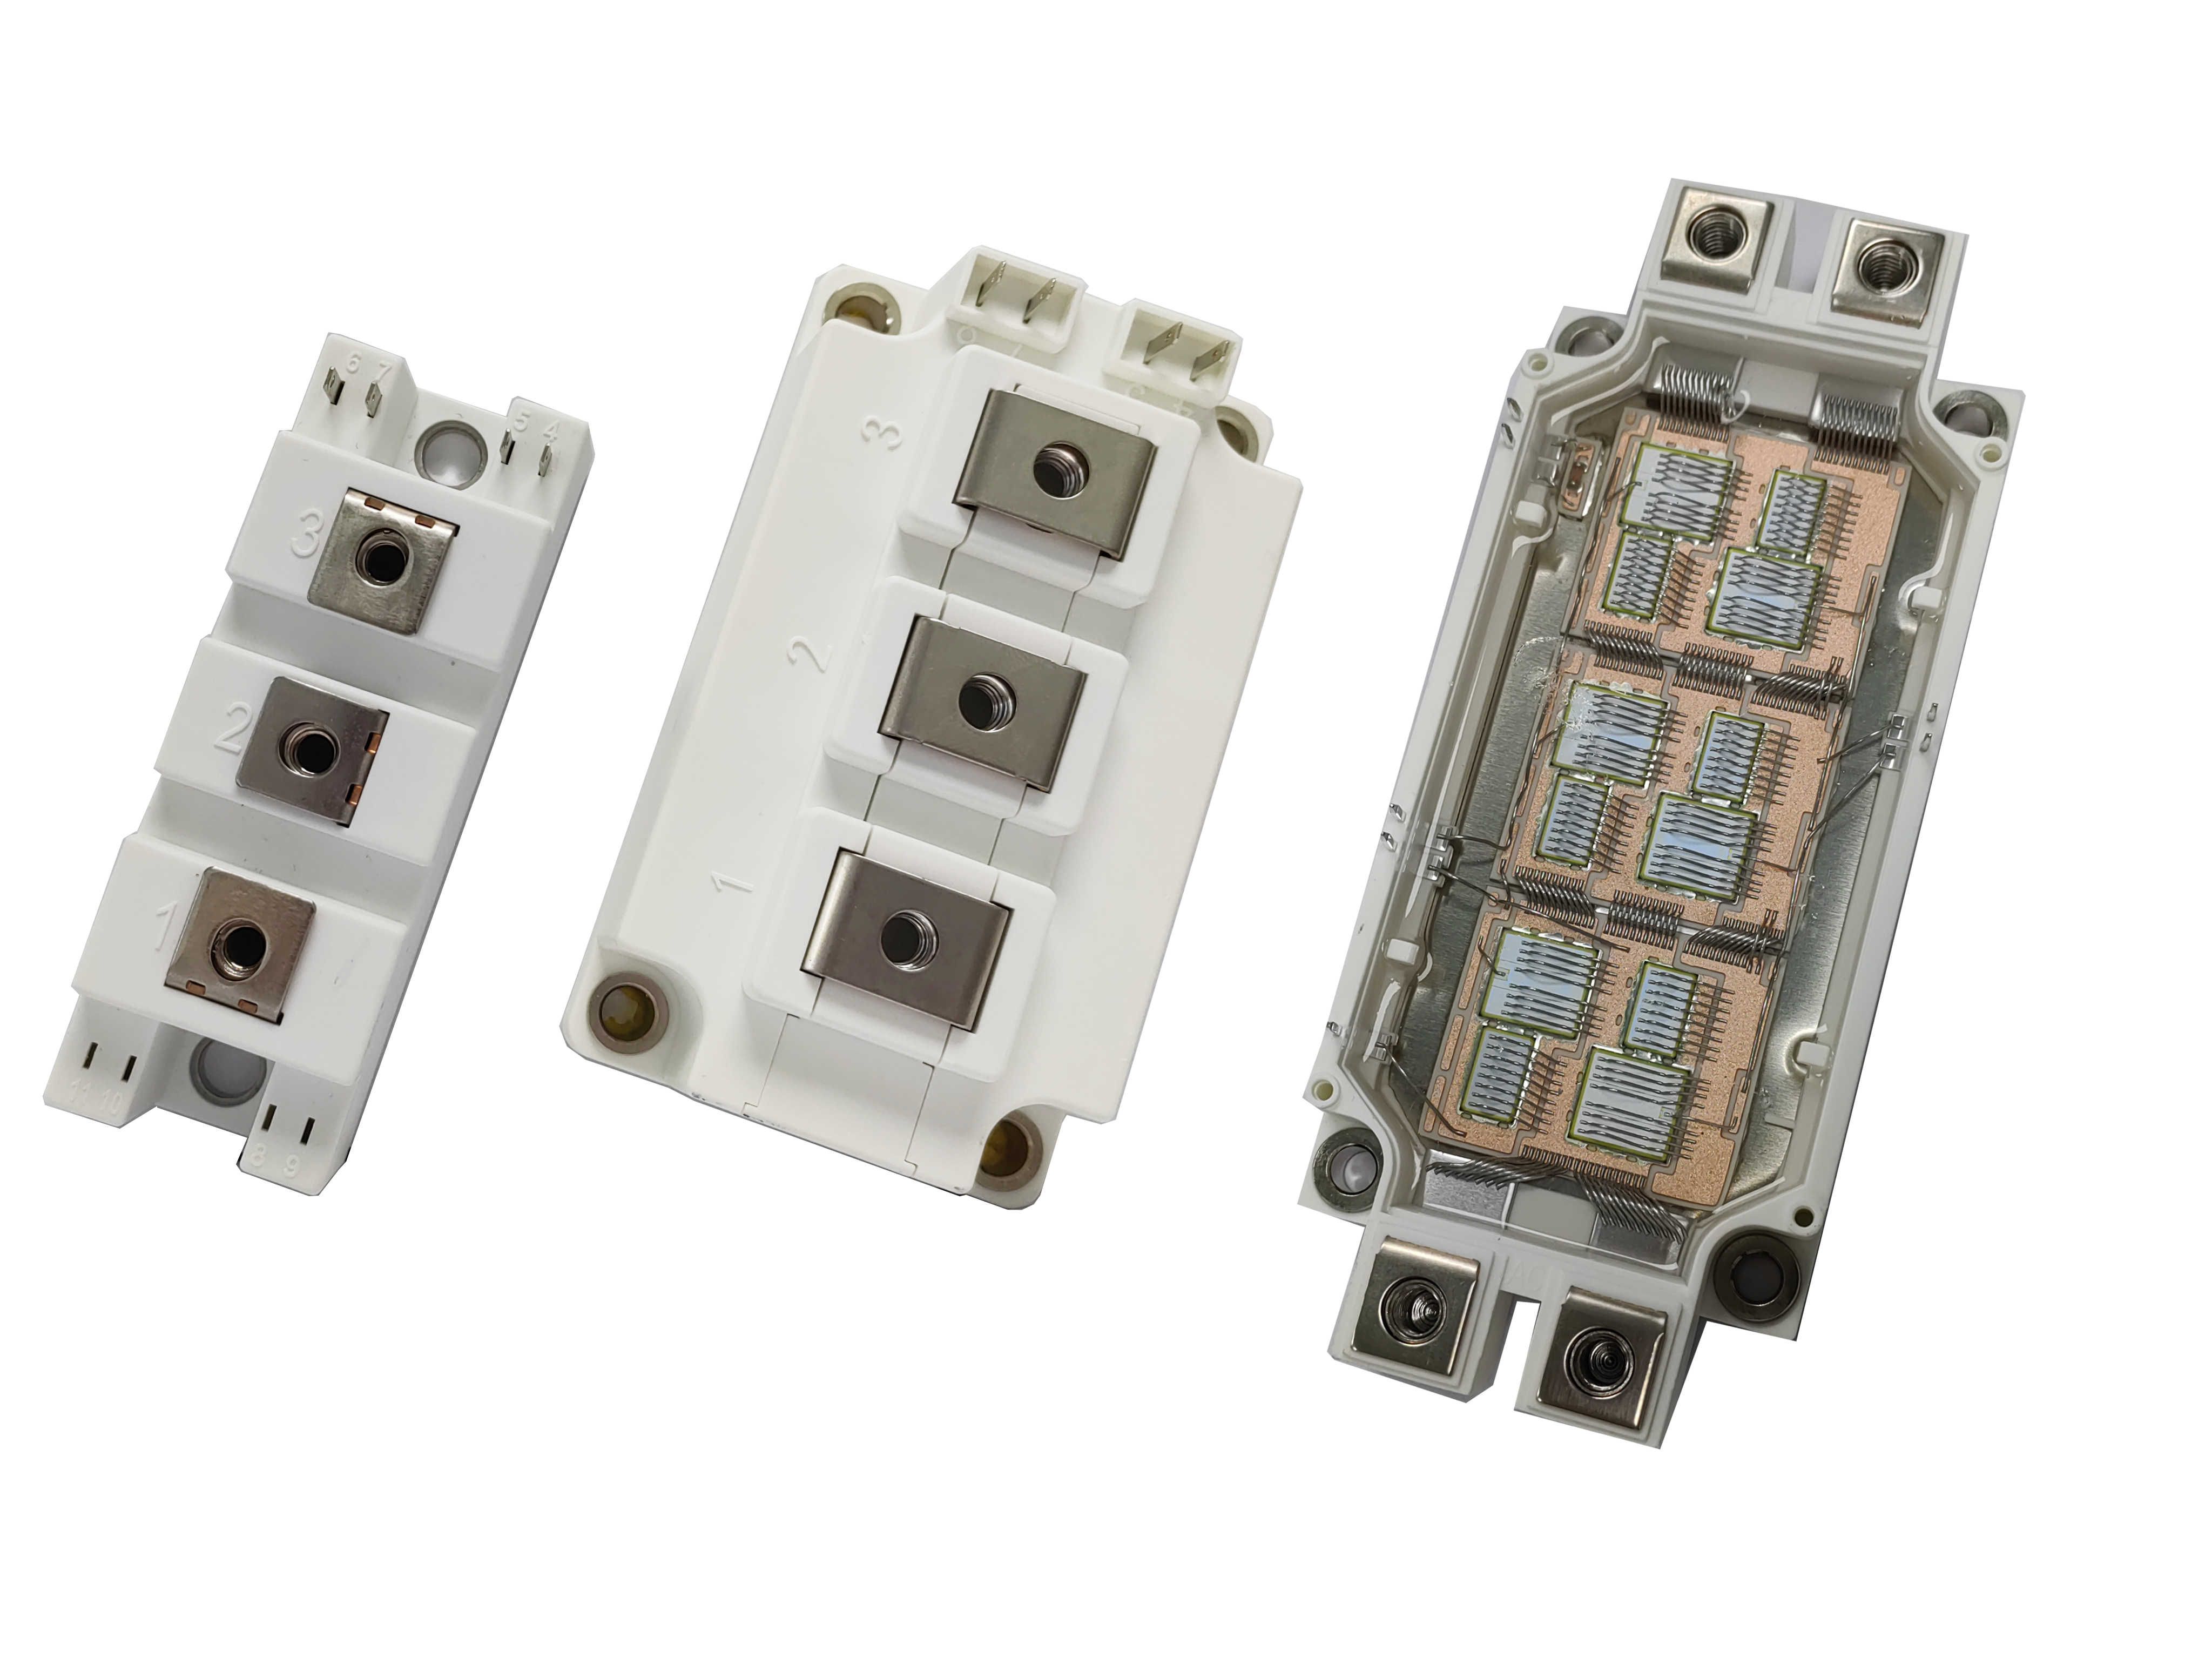
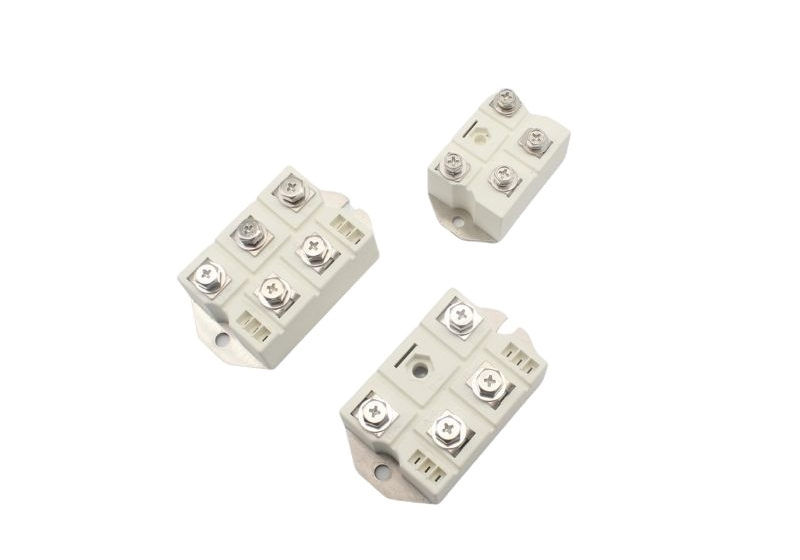
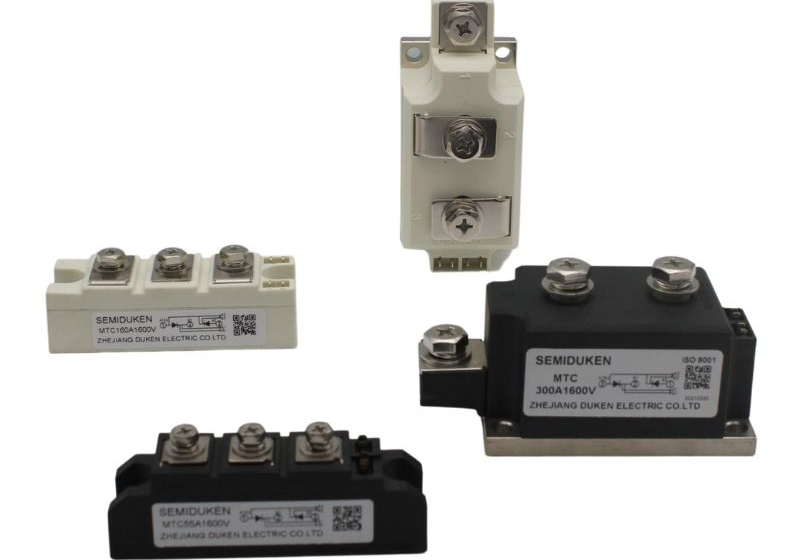
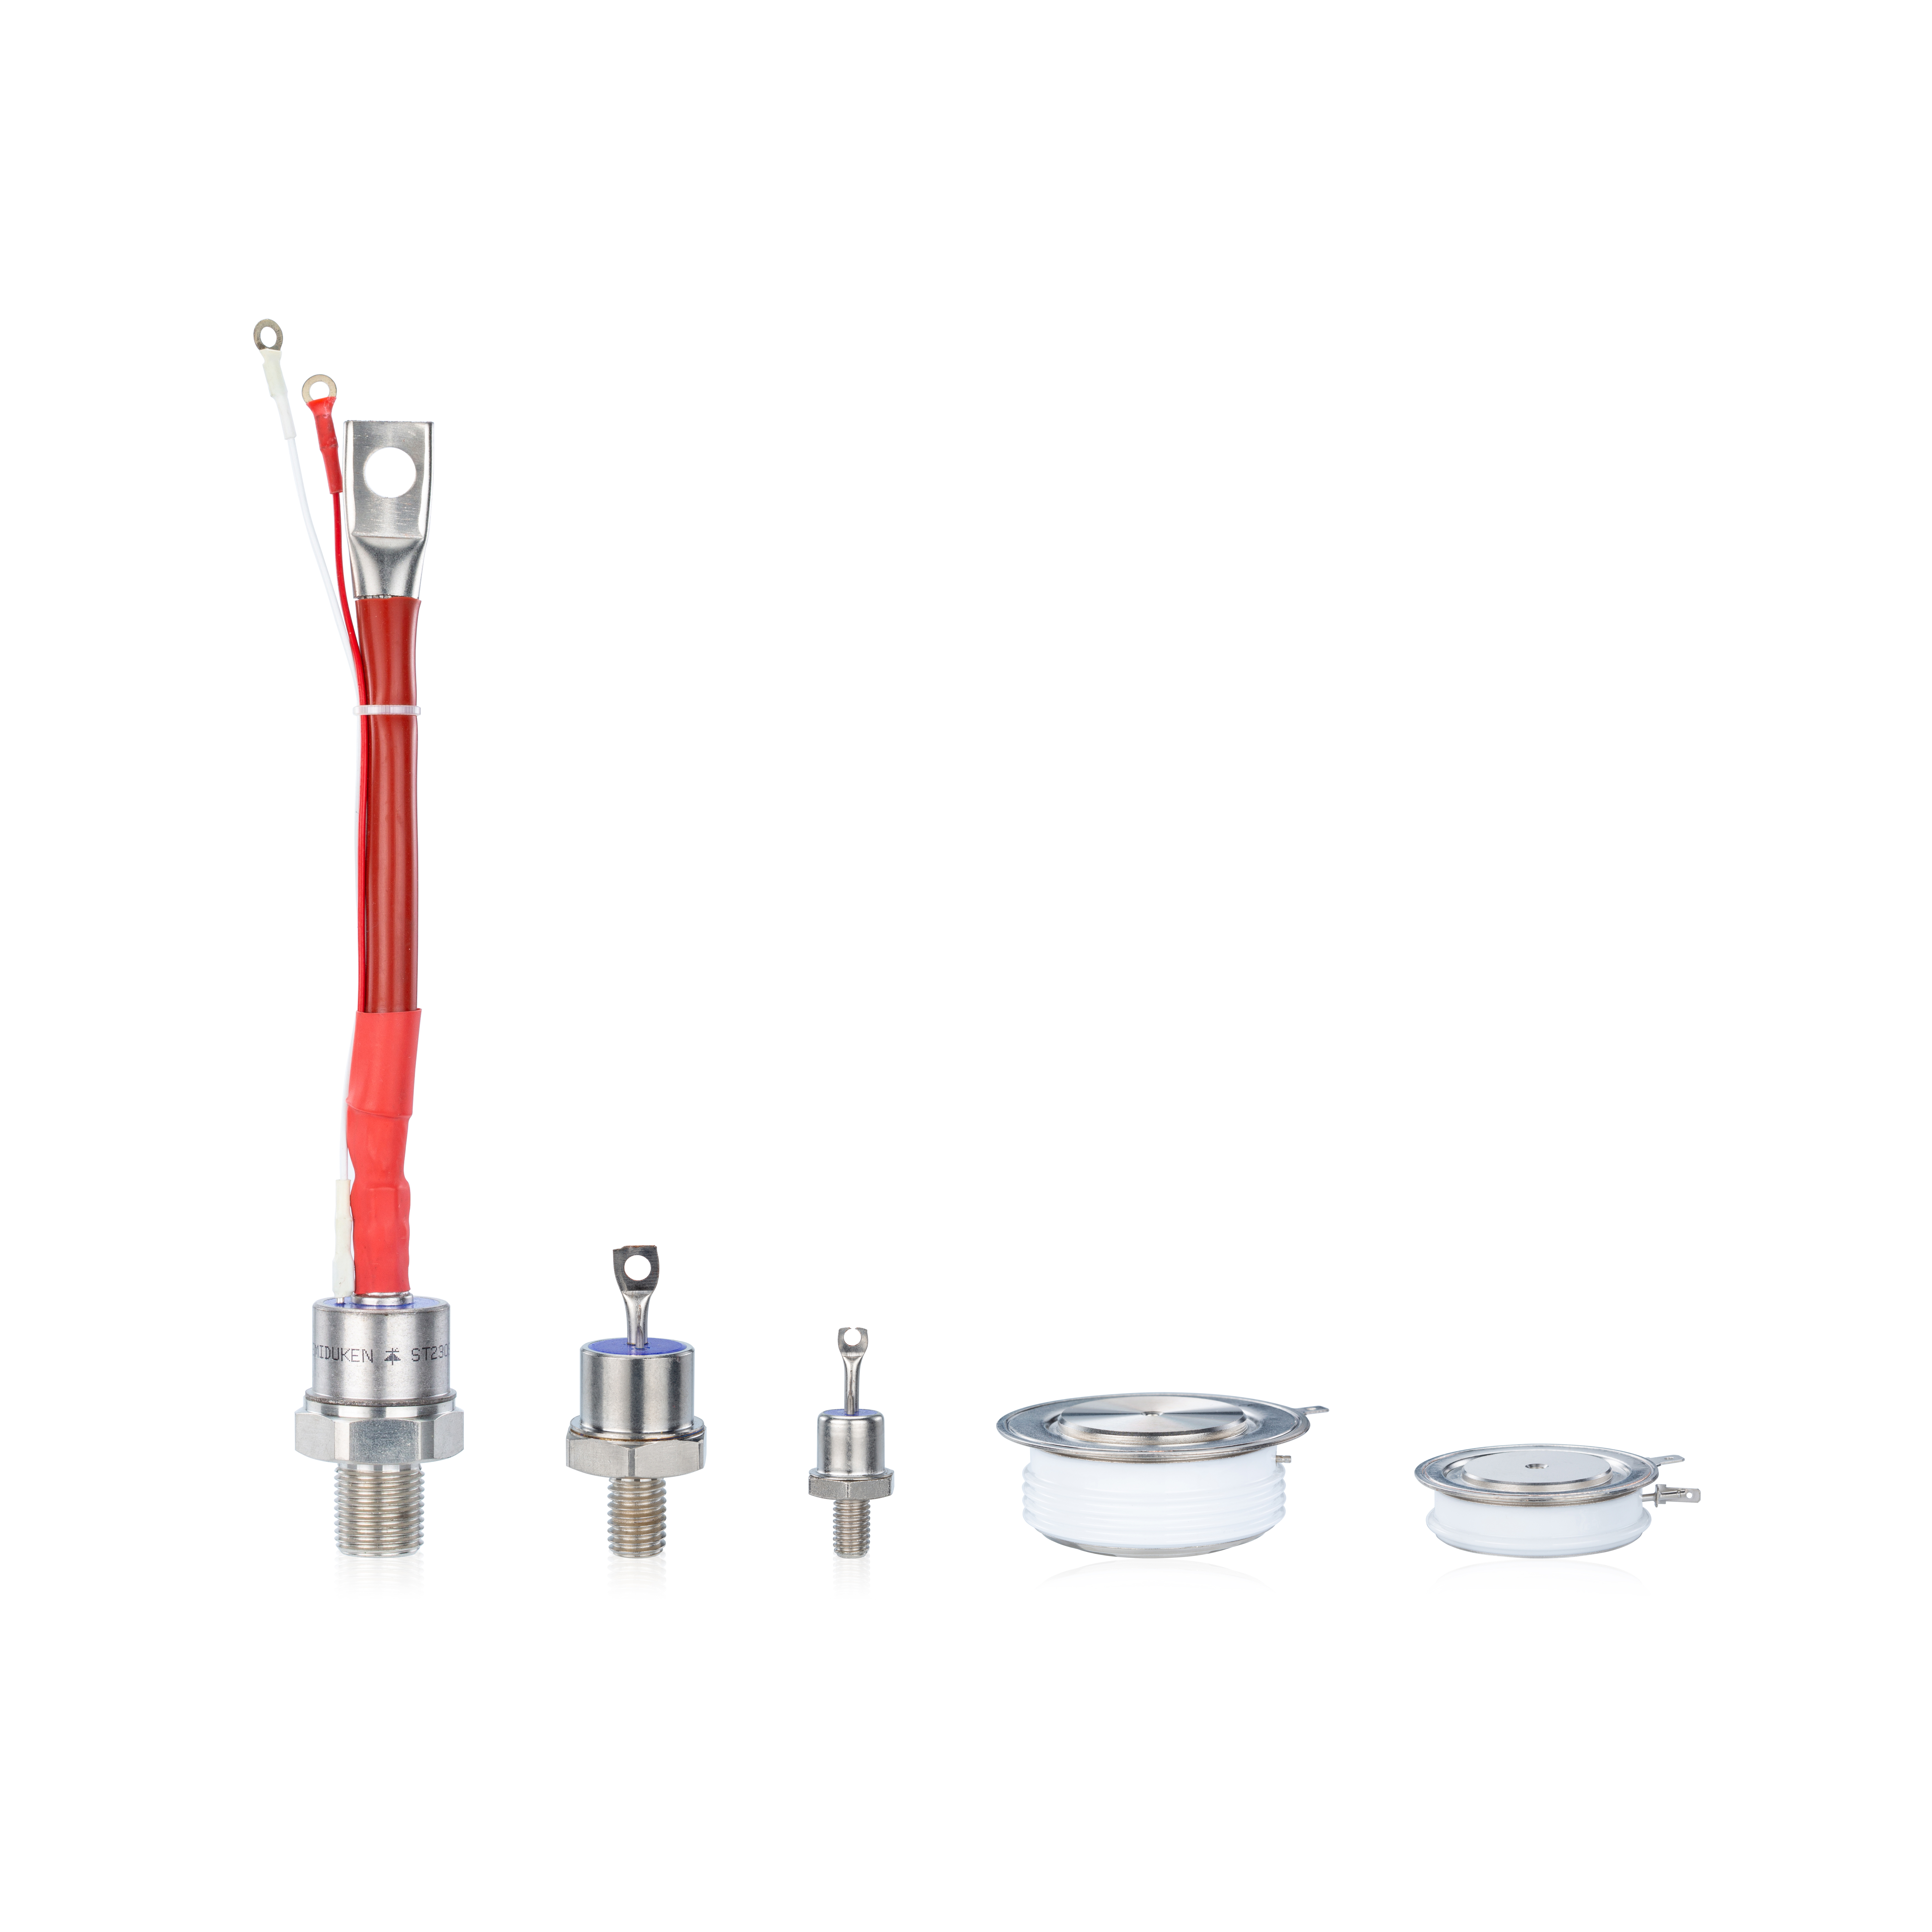
Thyristor modules are semiconductor devices used for controlling power in industrial applications. These modules are capable of handling high surge currents and low on-state voltages, making them ideal for use in demanding environments. In industrial heating, thyristor modules regulate the flow of electricity to heating elements, ensuring precise temperature control. Their ability to manage high surge currents and deliver low on-state voltage is especially beneficial in applications like industrial phase control, where stability and efficiency are paramount.
Installation of Thyristor Modules
Proper installation of thyristor modules is critical for their effective operation. The installation process involves several key steps, each of which ensures that the module is positioned correctly and can perform optimally in its designated role.
Step 1: Pre-Installation Checks
Before beginning the installation process, it is essential to check the thyristor module specifications and ensure that it is compatible with the heating system's requirements. For instance, the module should be able to handle the required surge current and voltage levels, typically around 1600V. Additionally, check the physical size of the module to ensure that it fits properly into the mounting space.
Step 2: Wiring and Connections
Once the module is ready for installation, the next step involves connecting it to the power supply and heating elements. It is crucial to use high-quality wiring that can withstand high surge currents. The wiring should be properly insulated to prevent any short circuits. Ensure that the module's control inputs are correctly wired to the temperature control system, which will regulate the heating process.
Step 3: Mounting the Thyristor Module
Thyristor modules are typically mounted on a heat sink or similar cooling device to prevent overheating. It is essential to ensure that the module is securely mounted, as any movement could lead to damage or reduced performance. Adequate airflow must be maintained around the module to ensure efficient cooling.
Step 4: Final System Checks
After installation, conduct a thorough system check to ensure that the thyristor module is functioning correctly. This includes verifying the power supply, checking for any loose connections, and ensuring that the temperature control system is functioning properly.
Maintenance of Thyristor Modules
Maintaining thyristor modules is crucial to ensure their longevity and efficient performance. Regular maintenance can help detect potential issues early, preventing costly repairs or replacements.
Step 1: Regular Inspection
Regular inspection of the thyristor module is necessary to check for signs of wear or damage. Look for any discoloration or visible damage to the module or its components. If the module is overheating, it may indicate a problem with the cooling system or insufficient airflow.
Step 2: Cleaning the Module
Dust and debris can accumulate on the thyristor module and its surrounding components, potentially affecting its performance. Regular cleaning is necessary to maintain optimal heat dissipation. Use a soft brush or compressed air to remove any dust from the module and its heat sink.
Step 3: Checking Electrical Connections
Over time, electrical connections may loosen, leading to poor performance or failure. Regularly check the wiring and connections to ensure they are secure and free from corrosion. Tighten any loose connections and replace any damaged wiring.
Step 4: Replacing Worn Components
Thyristor modules are designed to last for many years, but some components may wear out over time. Commonly replaced components include the heat sink, wiring, and control inputs. It is essential to replace any worn components promptly to avoid performance degradation.
Step 5: Conducting System Performance Tests
Periodically testing the system's performance can help identify potential issues with the thyristor module or other components. Use temperature control systems and UPS testing equipment to verify that the module is operating within the specified parameters, such as maintaining a low on-state voltage and handling high surge currents efficiently.
Conclusion
Thyristor modules are critical components in industrial heating systems, and their proper installation and maintenance are essential for ensuring long-term reliability and efficiency. By following the steps outlined in this guide, you can ensure that your thyristor modules are installed correctly and maintained regularly to maximize their lifespan and performance. Whether you are working with high surge current systems, temperature control systems, or UPS systems, understanding how to properly install and maintain thyristor modules will help keep your equipment running smoothly and efficiently.