Installing 2000A Phase Control Thyristors for High-Power Applications: Ensuring System Efficiency and Safety
Introduction
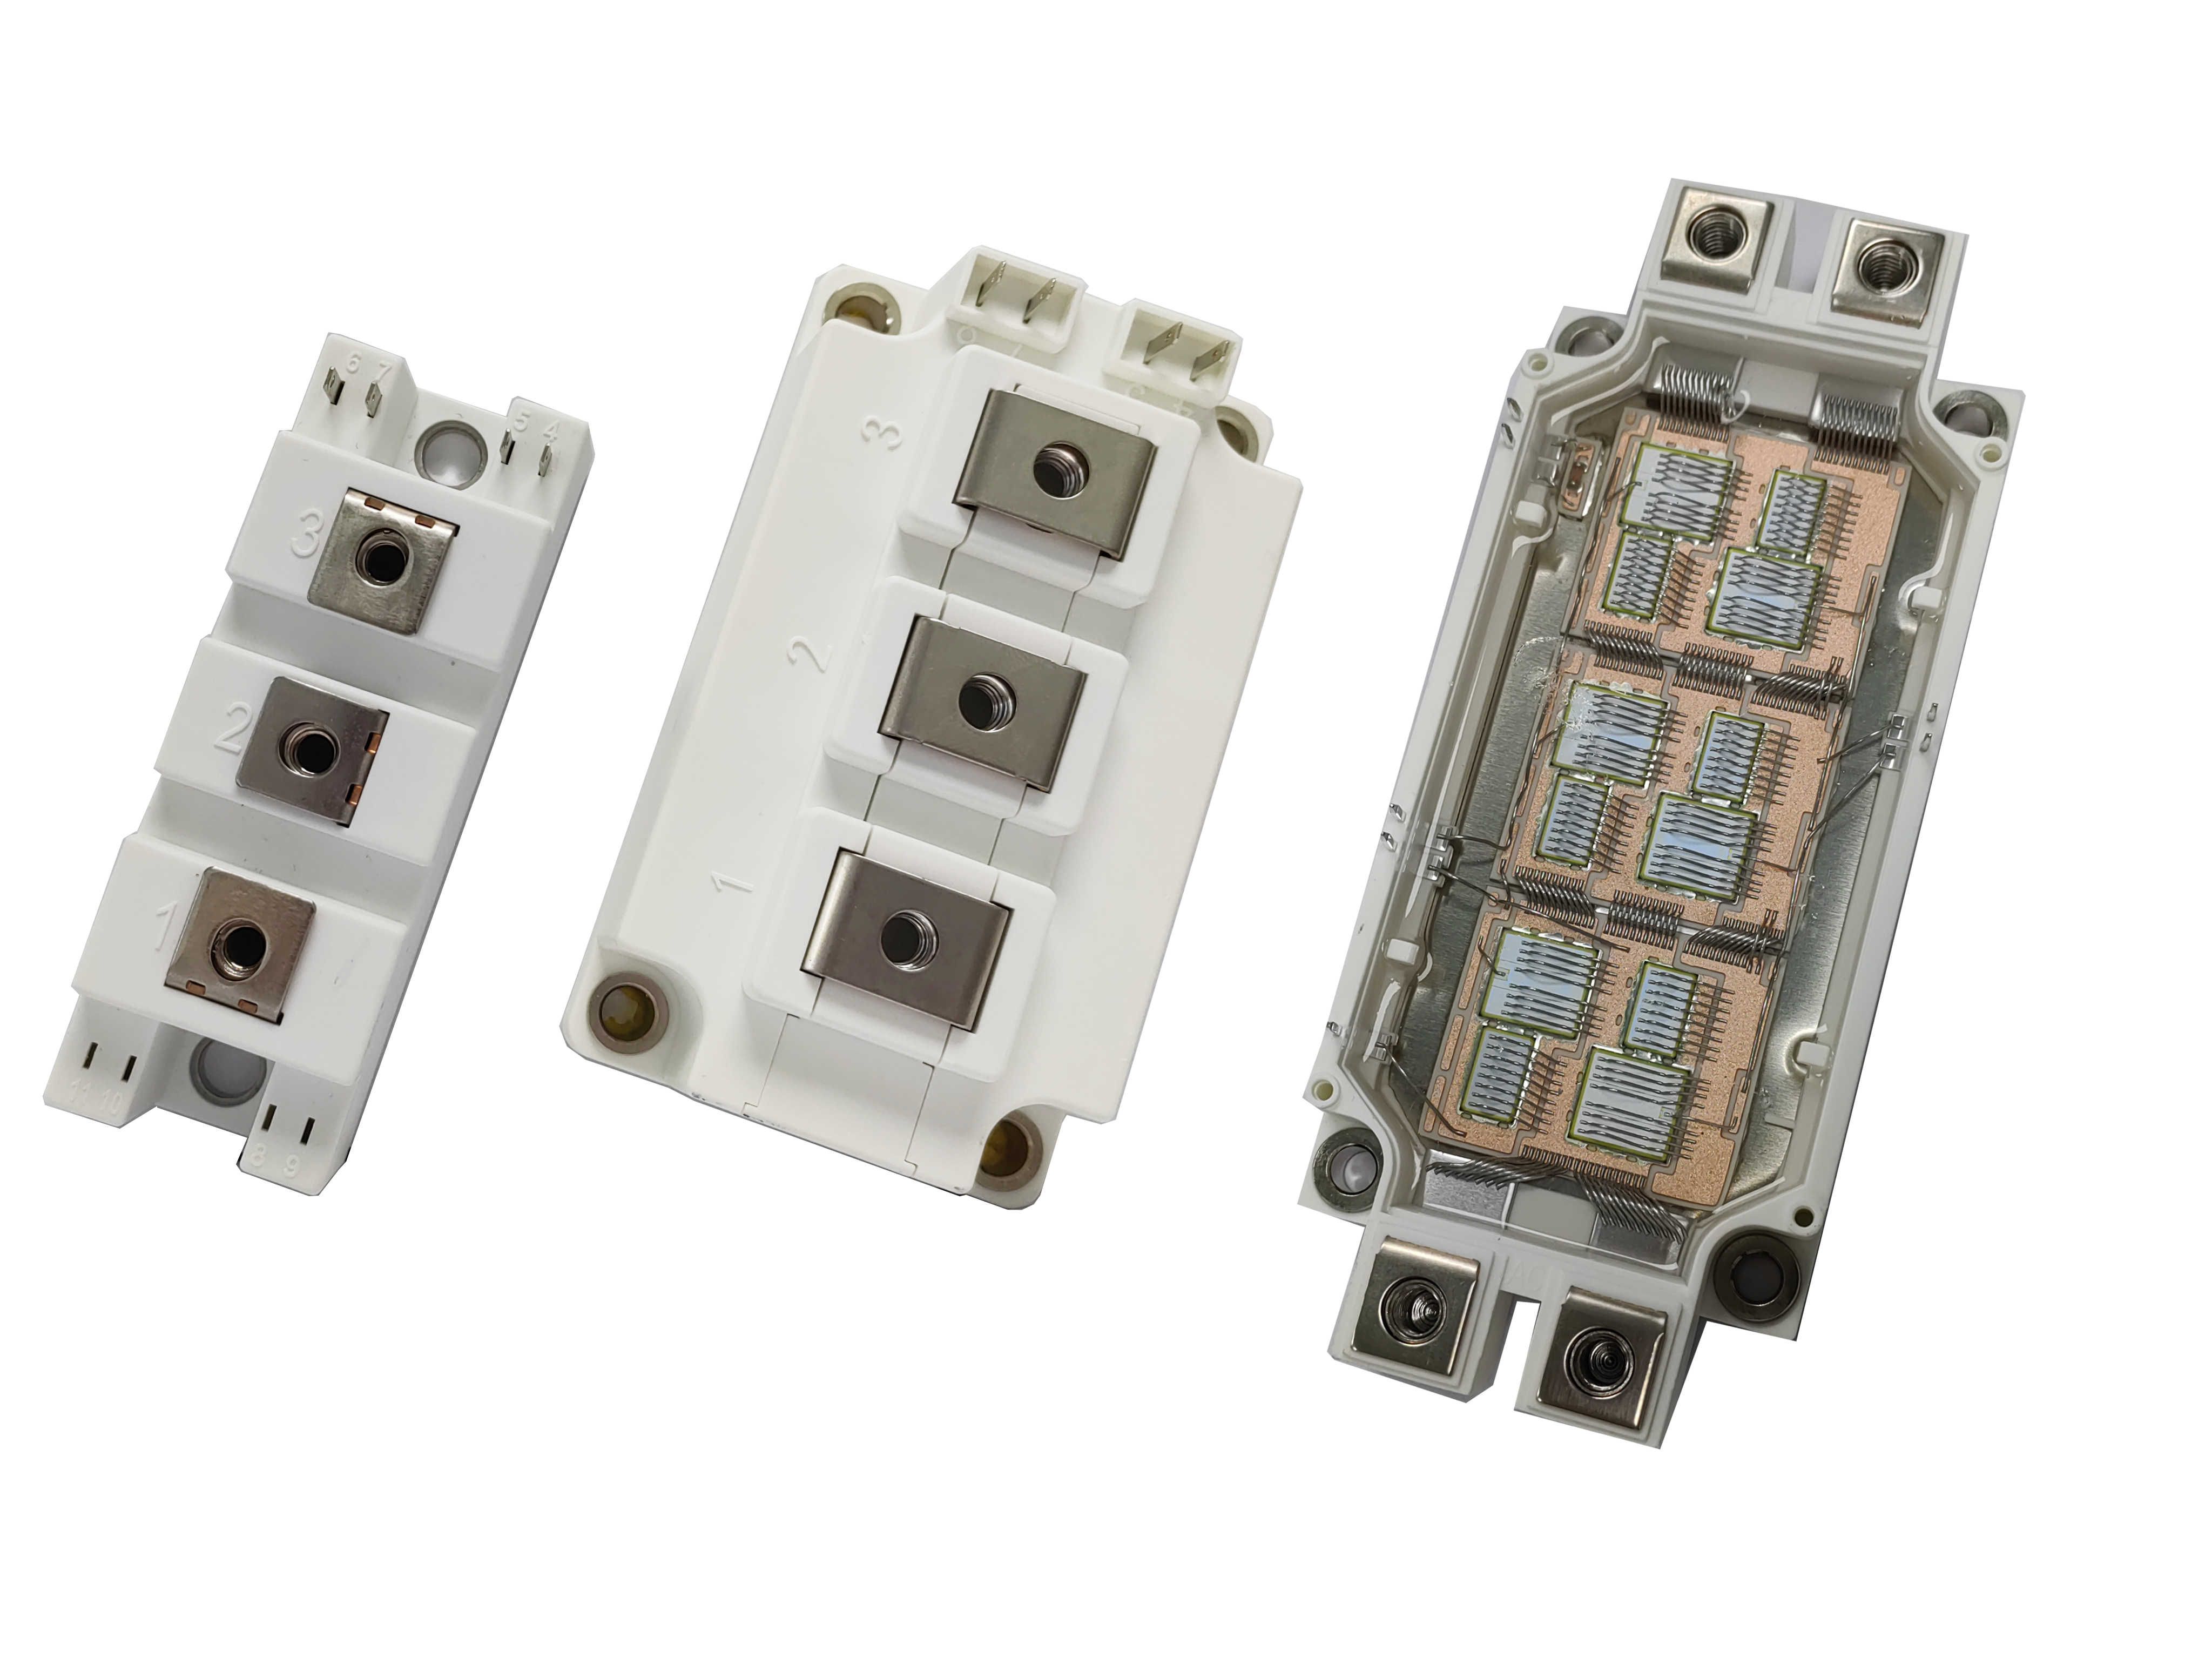
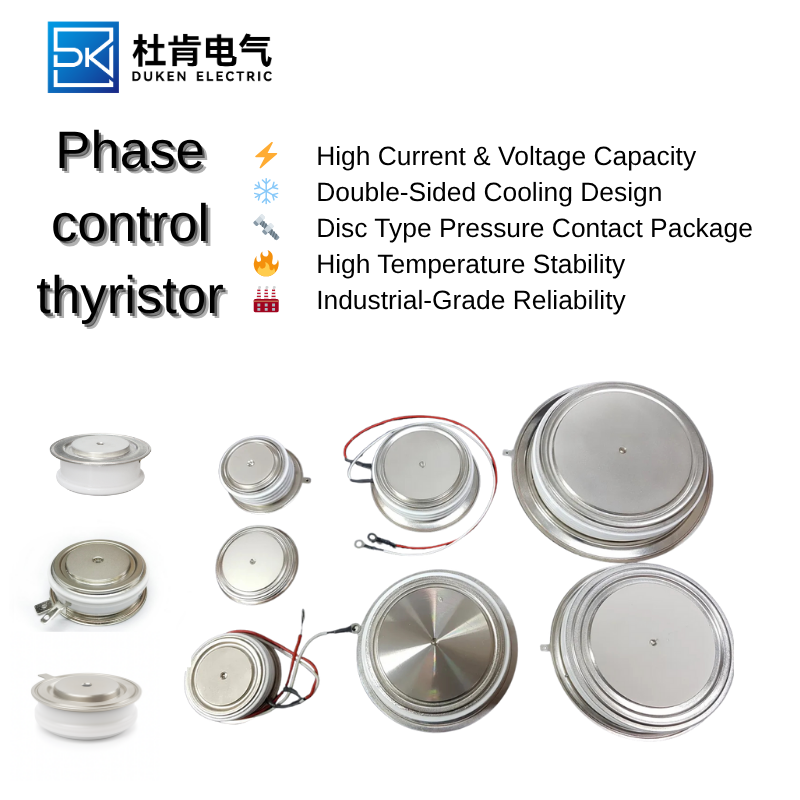
In high-power applications such as large industrial machinery, power regulation systems, and high-capacity heating elements, 2000A phase control thyristors play a critical role in controlling power flow. Their ability to handle large current ratings and high voltages makes them ideal for systems requiring efficient and precise power regulation. However, correct installation is crucial to ensure both safety and long-term reliability. This guide provides a comprehensive overview of how to install 2000A phase control thyristors for high-power applications, with a focus on efficiency, safety, and long-term system performance.
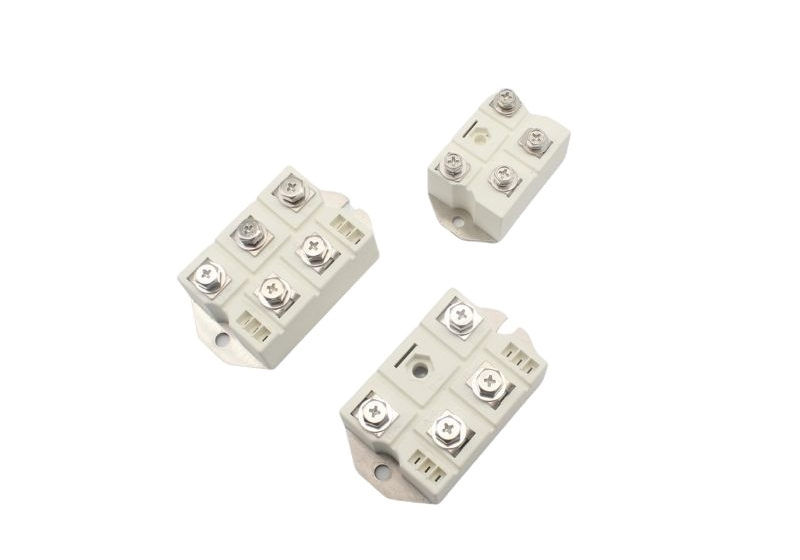
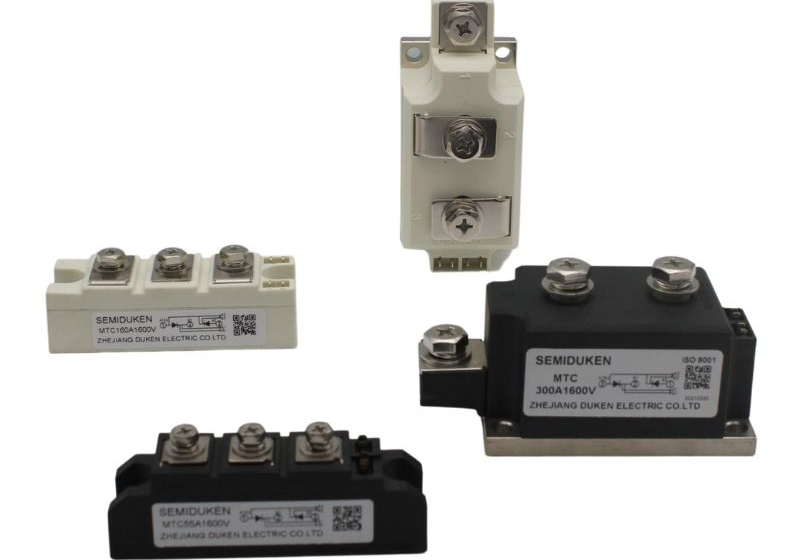
Understanding the Role of 2000A Phase Control Thyristors in High-Power Applications
A 2000A phase control thyristor is designed to manage large amounts of electrical power, typically used in applications such as:
Power control in large machines: These thyristors regulate power in high-capacity motors, ensuring efficient operation.
High-temperature systems: Used in industrial heating applications where consistent power flow is needed to maintain optimal temperatures.
DC power regulation: Ensuring stable voltage and current control in systems like rectifiers.
The importance of proper installation cannot be overstated, as incorrect setup could lead to equipment damage, overheating, and costly downtime.
Preparation for Installation
Before installing the 2000A phase control thyristor, it is essential to prepare both the site and the components for the installation process.
Review Datasheet Specifications:
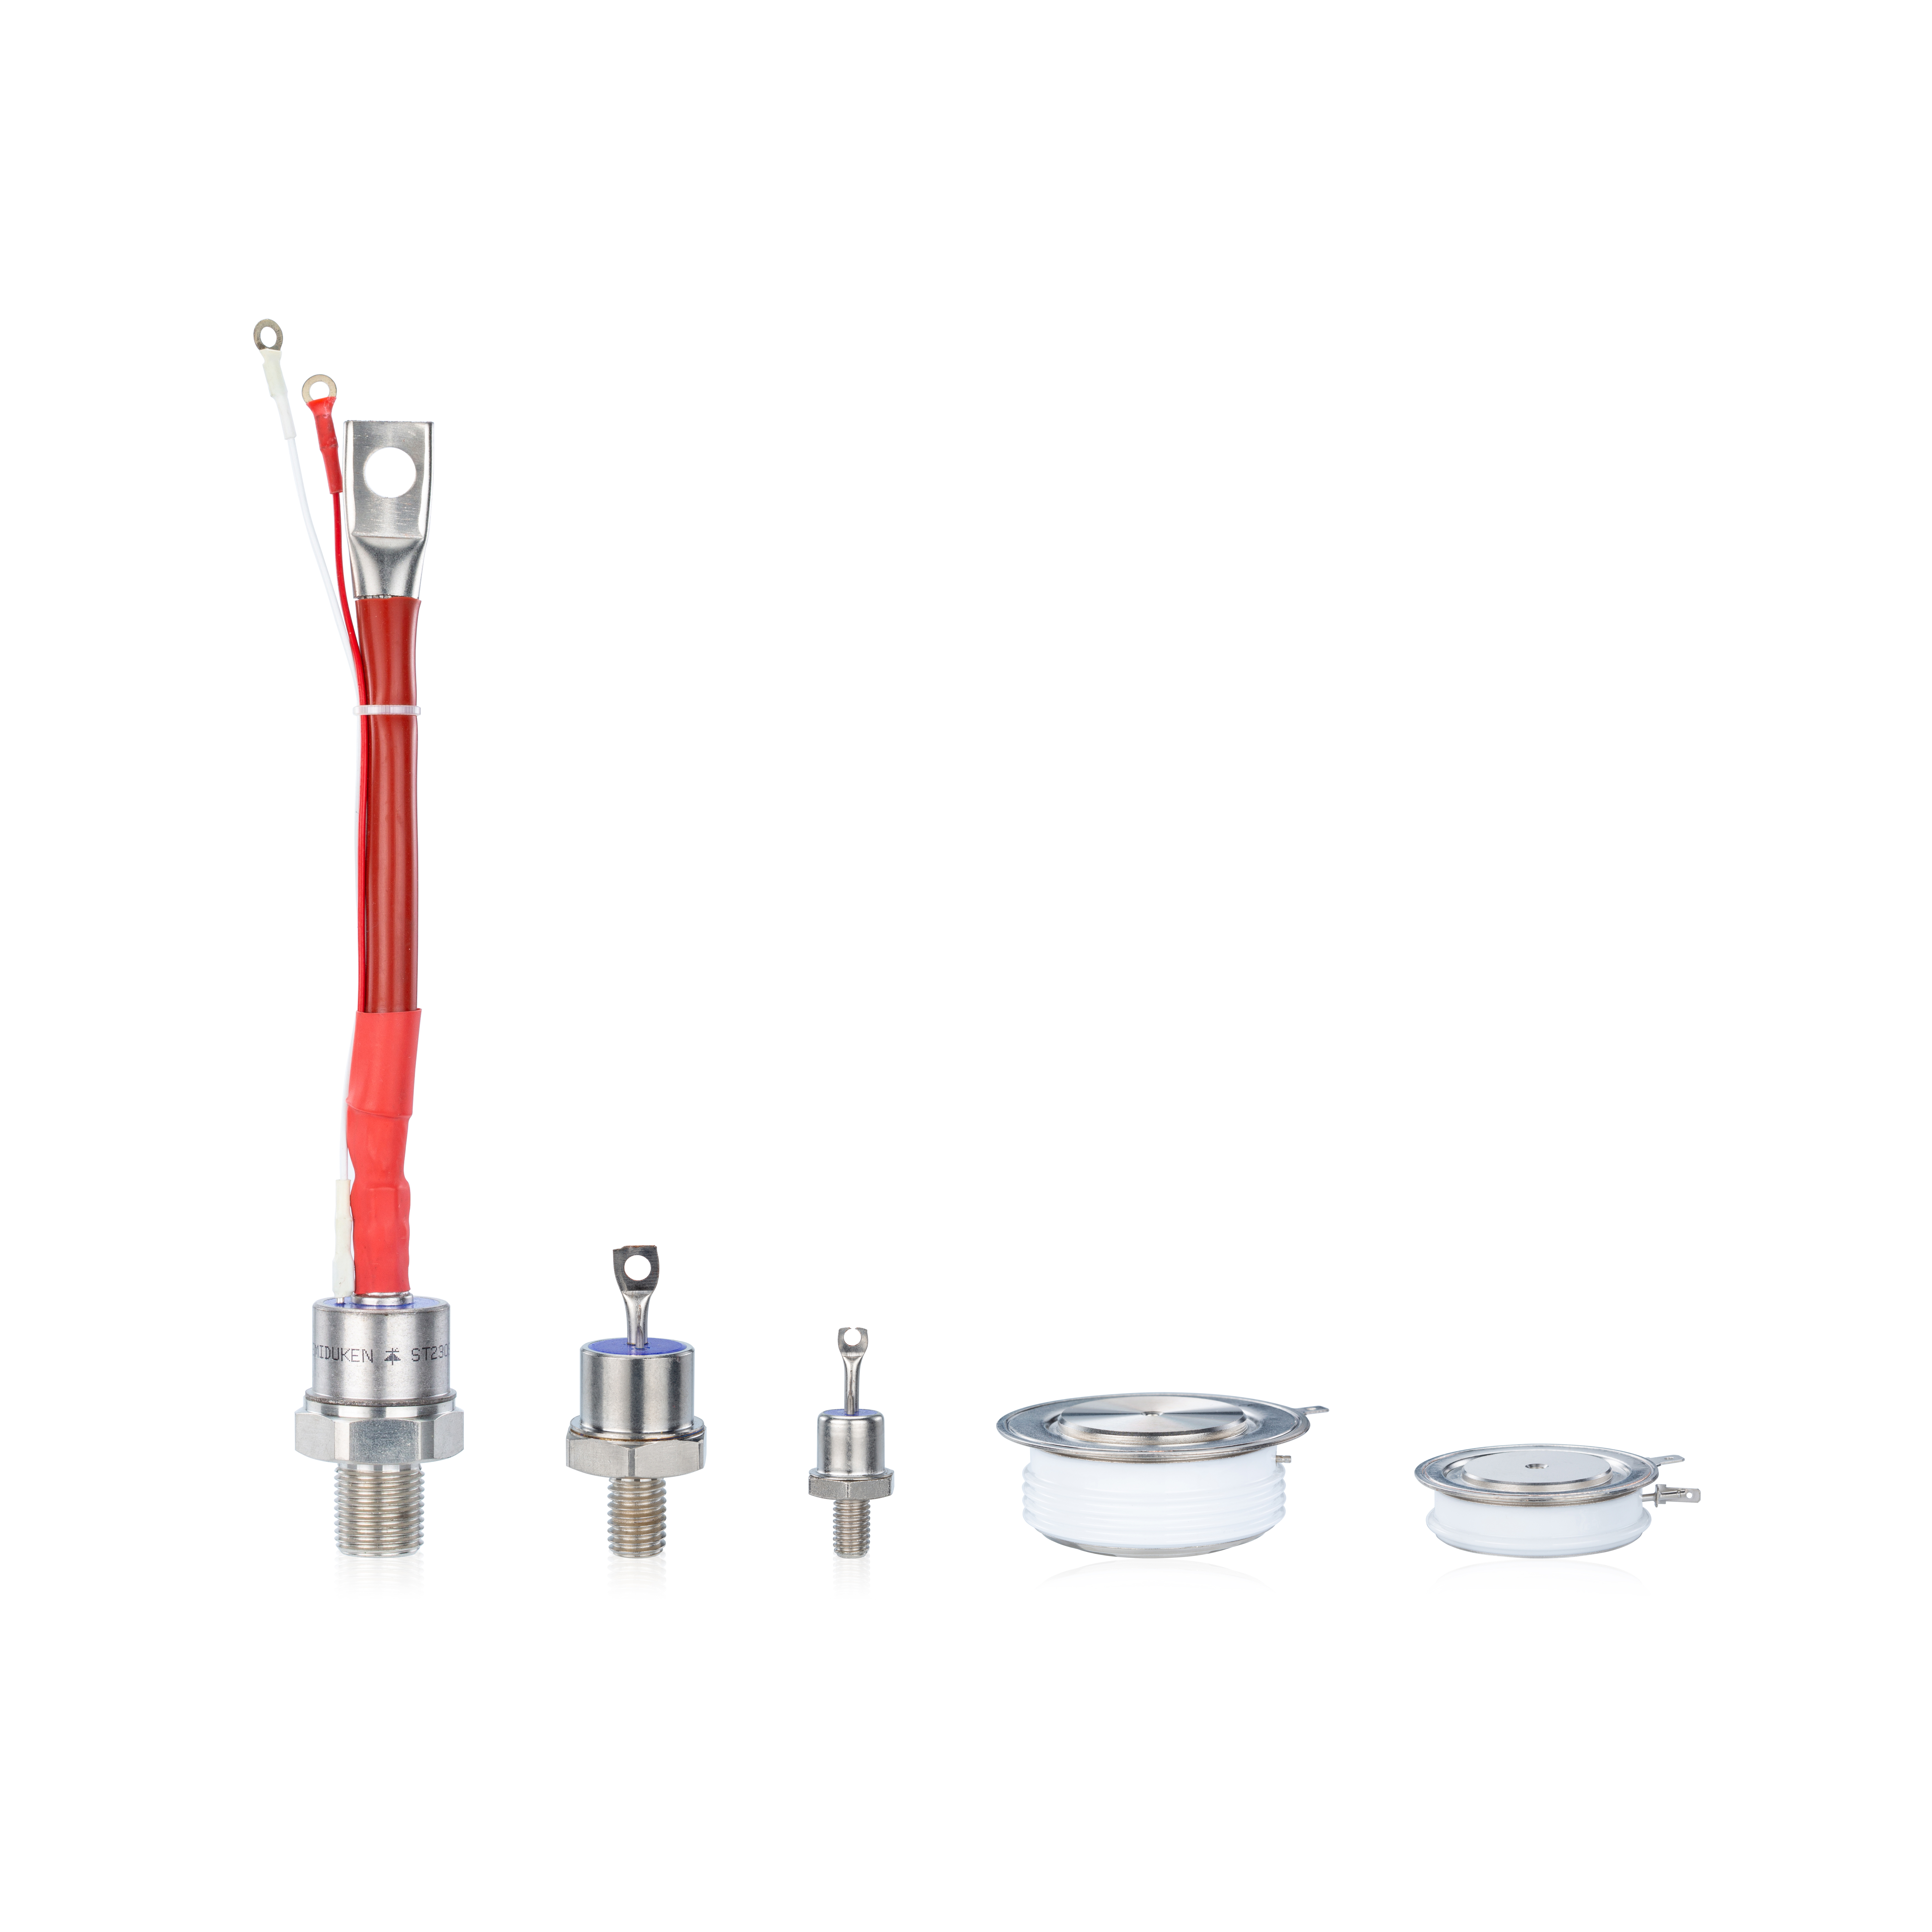
6500V VRRM Rating: Ensure that the thyristor’s reverse voltage rating matches or exceeds the voltage transients expected in the high-power system.
Current Rating (2000A): Verify that the thyristor’s current capacity is sufficient for the load demands.
System Shutdown and Safety:
De-energize the system: Ensure the power supply is completely turned off and isolated before proceeding.
Personal Protection: Wear appropriate safety gear, including insulated gloves, face shields, and protective clothing.
Workspace Setup: Use an ESD-safe workbench to handle the thyristor and associated components.
Step-by-Step Installation Process
Mounting the Thyristor
Choose the Correct Location: Position the thyristor near the load and power source to minimize the distance of the electrical connections and reduce system resistance.
Use the Correct Heat Sink: The 2000A phase control thyristor generates substantial heat during operation. Pair it with a suitable forced-cooling heat sink to ensure efficient thermal dissipation.
Proper Mounting Torque: Secure the thyristor to its mounting surface using the correct torque settings specified in the datasheet. This ensures proper thermal contact and mechanical stability.
Electrical Connections
Busbar and Cable Connections: Connect high-current cables to the anode and cathode of the thyristor using busbars rated for 2000A or higher. This minimizes the risk of overheating and ensures a stable current path.
Gate Trigger Wiring: Properly wire the gate and cathode for reliable control, keeping wiring runs short to reduce signal degradation and noise.
Thermal Interface
Thermal Paste Application: Apply an even layer of thermal paste between the thyristor and heat sink to maximize thermal conductivity and ensure proper cooling during operation.
Ensure Proper Alignment: Check that the thyristor and heat sink are securely mounted and aligned to prevent heat buildup and thermal damage.
Testing and Commissioning
After installation, it’s essential to verify that the system operates as expected.
Power-Up and Monitoring:
Gradual Power-Up: Slowly energize the system while monitoring the thyristor's performance, paying close attention to any abnormal temperature or voltage readings.
Monitor Gate Triggering: Ensure the gate trigger signal is functioning properly and the thyristor switches smoothly in response to the control signals.
Thermal Testing:
Check Heat Sink Performance: Measure the temperature of the heat sink to ensure it is adequately dissipating heat. Overheating could indicate improper thermal contact or insufficient cooling capacity.
Maintenance and Long-Term Operation
Once the 2000A phase control thyristor is successfully installed and tested, regular maintenance is essential to ensure the system remains reliable over time.
Routine Inspections:
Check for Loose Connections: Periodically check the connections and the thermal interface for wear, dust, or corrosion.
Monitor Cooling System: Inspect the forced-cooling system for any blockages or signs of reduced airflow that could cause overheating.
System Performance Logging:
Keep a log of system parameters, such as temperature, voltage, and current, to detect any performance degradation or irregularities in the thyristor’s behavior.
High Voltage Testing:
Perform insulation resistance tests and other high-voltage checks as part of the routine maintenance cycle to ensure the system remains safe and functional.
Conclusion
Installing a 2000A phase control thyristor in high-power applications is a critical task that demands careful attention to detail. By following best practices for installation, such as proper mounting, secure electrical connections, and effective heat dissipation, engineers can ensure long-term system reliability and optimal performance. Regular maintenance and monitoring will further enhance system stability, ensuring that the thyristor continues to function safely and efficiently in demanding industrial environments.